Mixer Geek Theremin
This is an inexpensive theremin that is fairly easy to use. These tips will make it easier:
- Be sure to let the theremin self-calibrate when turning it on
Keep your hands away from the antennas until it starts ticking.
- This theremin has a settings menu (Menus and Timbres)
The settings menu is controlled by the four small buttons on the top surface:
- The right button opens the menu.
- The top and bottom buttons to select the menu item.
- The right button opens the menu item.
- The top and bottom buttons select the setting or value when a menu item is open.
- The right button sets the setting and exits the menu item.
- The left button exits the menu item without changing the setting.
- The left button exits the menu when no item is open.There is an item to save the settings. The saved settings are used when the theremin starts.
- This theremin has selectable timbre - voicing (Menus and Timbres)
There are 71 timbres to choose from using the settings menu (timbre entry).
- This theremin has two operating modes:
- Normal theremin mode
This is for timbres without an asterisk (*) in the name.
The left hand and antenna controls the volume. Move toward the antenna for a lower volume.
The right hand and antenna controls the pitch. Move toward the antenna for a higher pitch.
- Strumming mode
This is for timbres WITH an asterisk (*) in the name (This is like playing a left-handed upside-down guitar).
The left hand and antenna controls the volume. Motion away from the antenna "strums" the instrument, starting the tone.
The right hand and antenna controls the pitch. Move toward the antenna for a higher pitch.
Some of the * timbres have only 12 pitches per octave instead of a continuous range.
- Normal theremin mode
- Preventing interaction between the two antennas
The two antennas interact somewhat in certain environments.
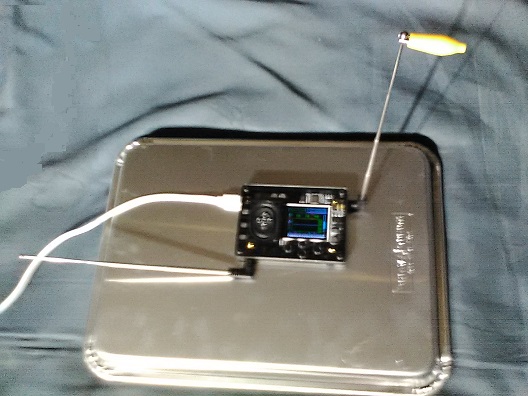
I discovered that setting the theremin on or over a metallic surface removes the interaction.
I used an upside-down baking sheet (see photo). Metallic poster boards also work.
This has also worked for me with other theremins. - Increasing the motion range for pitch
Let the theremin self-calibrate without the clip.
Then put a small alligator clip at the top of the pitch antenna (in photo)
This makes the motion range much larger, at the expense of removing a few notes at the bottom of the range.